backstory and context
I’ve been using a baofeng uv5r for years now. They’re cheap, portable, and generally a great deal for something you can throw in your bag and whip out when needed. I don’t have my ham license so I only use my radios for listening and transmitting on non-licensed frequencies. Don’t be an nuisance and use this not knowing what you’re doing. You’ll get those retired ham nerds calling the FCC on you since they have nothing better to do.
I’ve been using these radios by using a reference sheet and entering the frequencies in manually. The other day I realized I could be programming these and decided to document the process of how to do it.
After flashing the radios, they are WAY more effective in many use cases.
- Instead of having to always look up and reference certain frequencies, I can now flip through the programmed channels by label. No reference sheet needed anymore.
- While in channel mode, the scanning works better by only scanning your preferred frequencies. This model is rather slow at scanning so this definitely helps.
- I can create images of the radio and switch back and forth depending on the use case.
I did lean on chat to do some of the heavy lifting. I fed it a list of frequencies and labels from a website listing local frequencies.Chat formatted it for me so I could then paste it into a csv. I take that csv and import it into chirp.
Here are the steps to reproduce. Link to git here
- JORCOM
Part 1: File Analysis & Write-up
The provided CSV file is a structured database designed for use with radio programming software. It contains 91 unique entries that establish a comprehensive communication profile for a coastal region in California.
Contents Overview:
-
Public Safety (VHF/UHF): The list contains mainly law enforcement and fire/EMS dispatch channels. Look for identifiers like “SCSO” and “XCZ”—these represent the primary sheriff and mutual aid/fire frequencies for the county. The color-coded naming convention (e.g., Blue, Red, Slate) suggests a traditional mutual aid structure.
-
Medical & Tactical: Channels labeled “MED” and “TAC” are used for ambulance-to-hospital coordination and scene-specific tactical operations.
-
Marine & Weather: Because of the coastal geography, the file includes standard Marine VHF channels (like Channel 16 for calling and safety) and NOAA Weather Radio (WX) broadcasts for real-time maritime updates.
-
FRS/GMRS: Standard consumer-grade walkie-talkie frequencies (462−467 MHz) are included to ensure compatibility with civilian hardware during emergencies.
The file is pre-configured with the necessary CTCSS (Tone) values, ranging from 88.5 Hz to 192.8 Hz, ensuring your radio filters out interference and only picks up the intended local broadcasts.
Part 2: Step-by-Step Process for Flashing your Radio
To “flash” or program your Baofeng radio with this list, you will use a computer and a specialized programming cable.
1. Hardware & Software Requirements
-
Radio: Baofeng UV-5R or similar series.
-
Cable: A high-quality USB programming cable (ideally with an FTDI chip to avoid driver issues). Mine came in the box with the radio
-
Software: CHIRP (an open-source tool compatible with most radio models).
2. Preparation
-
Install Drivers: Ensure the programming cable is recognized by your computer.
-
Software Setup: Download and open CHIRP.
-
Physical Connection: Plug the cable into your PC and the radio. Ensure the radio is turned ON and the volume is set full.
3. Backing Up the Radio (Critical Step)
Before importing new data, always save the factory configuration:
-
In CHIRP, go to Radio > Download From Radio.
-
Select your Vendor (Baofeng) and Model.
-
Once the progress bar finishes, save this file as
Original_Backup.img.
4. Importing the CSV Data
-
In CHIRP, go to File > Open and select
Gemini-Generated.csv. -
This will open the list in a new tab. Select all rows (Ctrl+A) and copy them (Ctrl+C).
-
Switch back to the tab containing your radio’s current configuration.
-
Select the first row and paste (Ctrl+V). The list of frequencies should now populate your radio’s memory slots.
-
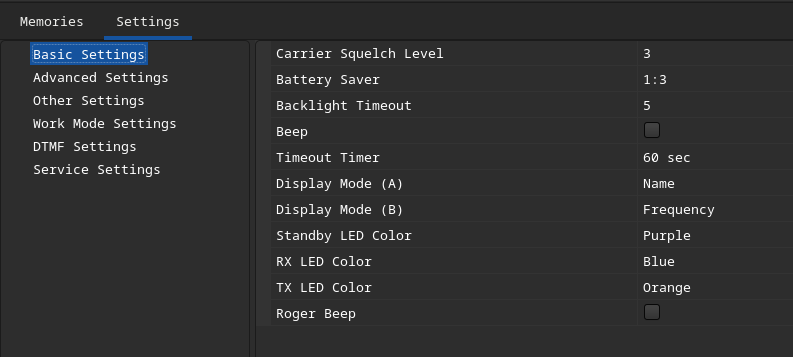
Configure any settings for the radio itself. I liked having the top row show the frequency name and the bottom showing the frequency number.
5. Uploading to the Radio
-
Go to Radio > Upload To Radio.
-
Wait for the data transfer to complete. The radio’s LED will usually flash green during this process.
-
Once finished, the radio will reboot automatically.
- cyberCRUZ bot